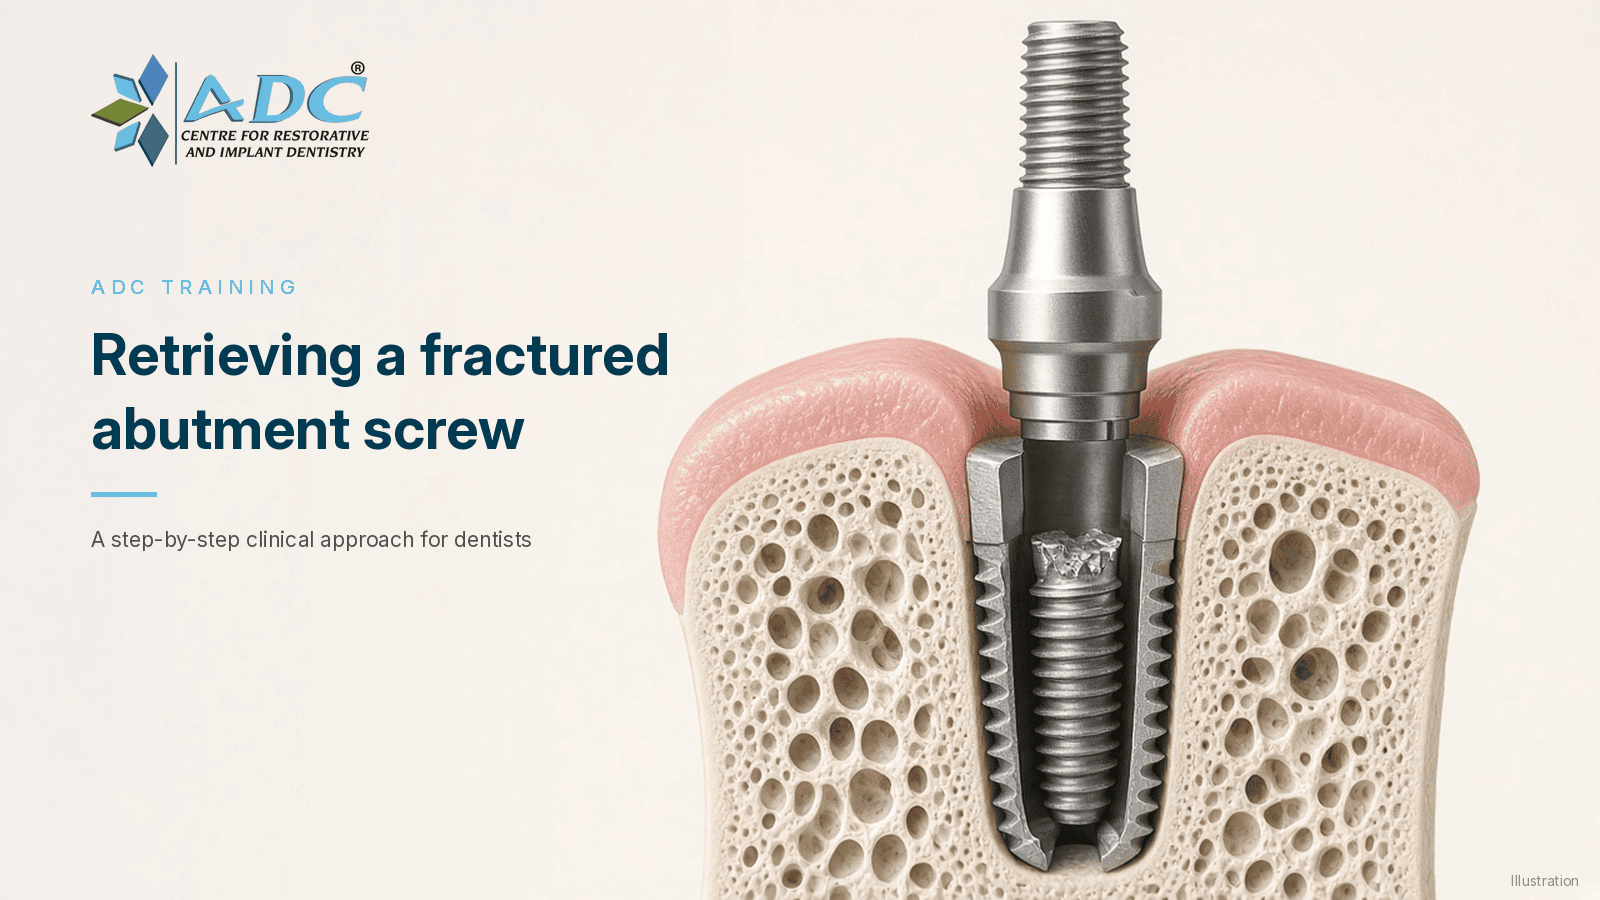
 A fractured abutment screw is one of the more stressful complications in implant prosthodontics. The implant itself is usually still integrated and healthy, yet the restoration cannot be retained until the fragment is out of the internal thread. How the fragment is removed often decides whether the implant can be restored again in the usual way or whether the internal connection is damaged. This article sets out, for dentists and dental students, a calm, stepwise approach to broken abutment screw removal, from assessment to prevention.
Why abutment screws loosen and fracture
Screw loosening and screw fracture are recognised mechanical complications of implant-supported restorations. Systematic reviews of implant prosthodontic complications report that screw loosening is more common than screw fracture, and that fracture is often preceded by a period of repeated loosening that was not noticed or not addressed.
The underlying mechanism is usually a loss of preload. When a screw is tightened to the manufacturer's torque value, it stretches slightly and holds the abutment against the implant platform. Settling of the mating surfaces, micromovement under load and cyclic loading can reduce this preload over time. Once the joint opens, the screw is exposed to bending and fatigue loads it was not designed to carry. Factors associated with this include:
- Inadequate or unverified tightening torque, or no retightening after initial settling where the manufacturer recommends it.
- Occlusal overload, parafunction such as bruxism, and cantilevers or wide occlusal tables.
- A poorly fitting or non-passive framework.
- Non-original or mismatched components.
- Reuse of a screw that has already been tightened and removed several times.
Initial assessment
Before any instrument touches the fragment, take time to understand the situation:
- Confirm the cause. A mobile crown on an implant may mean a loose screw, a fractured screw, a fractured abutment or, rarely, a failing implant. A periapical radiograph shows the level of the fracture line and whether the fragment sits above or below the top of the implant.
- Identify the implant system. Check the patient's records, implant card or the original treating clinician's notes. The connection type, screw size and the availability of the manufacturer's retrieval instruments affect every later step.
- Assess access. Note the angulation, the mouth opening and whether the fragment can be seen directly under magnification.
- Explain the situation to the patient. Discuss that retrieval is often possible, that some cases need a different solution, and what the alternatives would be if the internal thread is damaged.
A stepwise approach to retrieval
The principle throughout is to begin with the least invasive method and escalate only when needed. Magnification and good illumination help at every stage.
Step 1: Remove the restoration and expose the fragment
Remove the crown and the coronal part of the abutment. Irrigate the screw channel to clear cement, debris and any fluid so that the top of the fragment is visible. Assess whether the fragment is loose or tight in the thread.
Step 2: Counter-clockwise rotation with a fine instrument
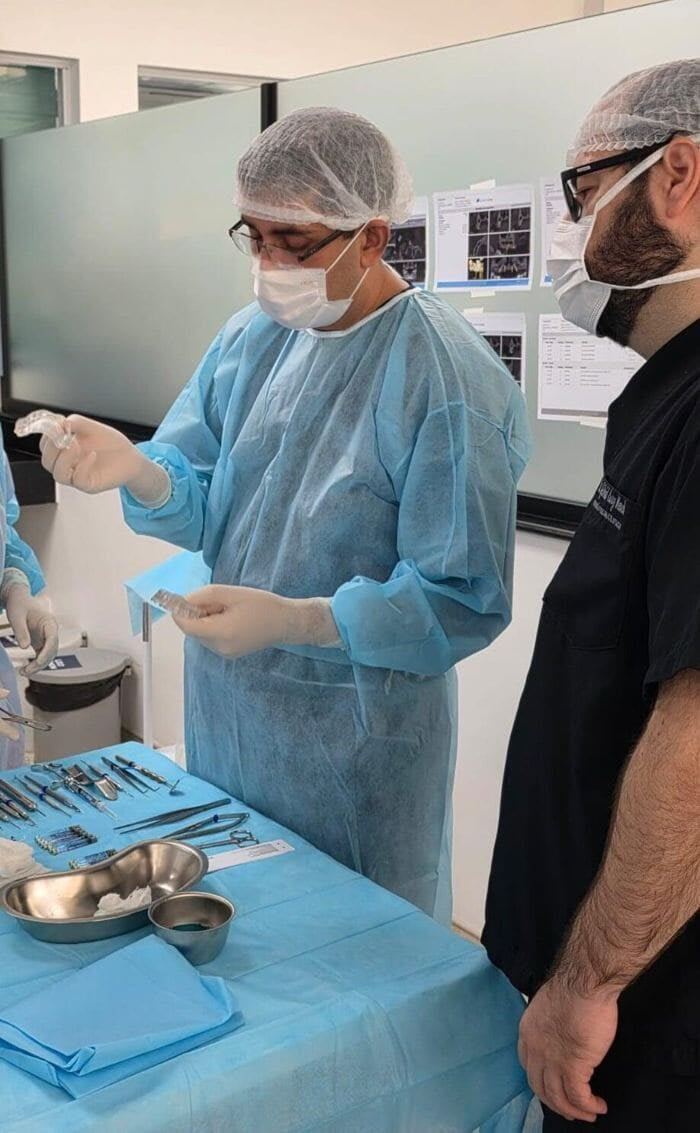
In many cases, once the load is removed, the fragment is not bound tightly. A sharp explorer, a fine probe or a small endodontic instrument can be placed against the edge of the fragment and moved in a counter-clockwise direction to rotate it out. Ultrasonic instruments used gently, with light pressure and irrigation, can help to loosen a fragment by vibration. Avoid contact with the internal threads of the implant.
Step 3: Manufacturer retrieval kits
When the fragment is bound, most major implant systems offer dedicated rescue or retrieval kits. These typically include a guide that centres a reverse-cutting drill or a fragment remover on the screw, so that the instrument engages the fragment rather than the implant threads. Using the drill at low speed with irrigation, as the kit instructions describe, is safer than improvising freehand. A guide sleeve matched to the implant system is the main safeguard against damaging the platform.
Step 4: Creating a slot
If no kit is available and the fragment is visible, some clinicians create a narrow slot in the top of the fragment with a fine bur under magnification, then use a small flat-bladed instrument to unscrew it. This carries a real risk of cutting into the internal connection, so it calls for care, steady support and a clear view.
Step 5: When retrieval is not possible
If the fragment cannot be removed, or the internal thread is damaged, options include thread repair with a manufacturer-specific tap where one exists, a custom post-retained restoration that does not rely on the original screw thread, leaving the implant submerged ("sleeping") or, as a last resort, removal of the implant and replacement. Referral to a colleague with experience in implant complications is a reasonable choice at this stage.
After retrieval
Once the fragment is out:
- Inspect the internal thread under magnification and, where possible, test it with a new screw by hand.
- Use a new original screw. Do not reuse the fractured screw's partner components without checking them.
- Tighten to the manufacturer's recommended torque with a calibrated torque wrench, and retighten after a few minutes if the manufacturer advises it.
- Check the fit of the abutment and the restoration radiographically.
- Review the occlusion carefully, including excursive contacts, and adjust if needed.
Preventing recurrence
A screw fracture is often a sign of a mechanical problem in the restoration as a whole. Review the cause before replacing the components:
- Is the occlusal scheme and the size of the occlusal table appropriate?
- Is there parafunction, and would an occlusal splint help?
- Is the framework passive, or does it need to be remade?
- Were original components and the correct torque used?
- Would shorter recall intervals help to pick up early signs of loosening?
Recording the implant system, components used and torque values in the patient's notes makes any future maintenance easier, for the treating clinician or for a colleague.
Frequently asked questions
Can a fractured abutment screw be removed without damaging the implant? Often, yes, particularly when the fragment is not bound and can be rotated out with a fine instrument. The risk of damage rises when drills or burs are needed, which is why system-specific guides are preferred.
Should I use a new screw after retrieval? Yes. A new original screw from the implant manufacturer, tightened to the recommended torque, is the general recommendation.
Is screw loosening a warning sign? Repeated loosening suggests that preload is being lost, and is worth investigating before a fracture occurs.
Learning implant complication management with ADC
Managing implant complications is one of the areas taught at the ADC E-Learning Hub, the online training platform for dentists, dental students and clinicians run by Dr. Mohit Dhawan and Dr. Rosy Dhawan. On training.theadc.dental Dr. Mohit Dhawan's teaching includes troubleshooting strategies for hardware and prosthetic complications, and the site refers to a lecture on Rescue of Broken Abutment Screws. Lessons are video-based with downloadable notes, a digital certificate is awarded for each completed lecture and module, and offline clinical classes are also offered, with pre-enrolment online. Browse courses at All courses.
This article is general clinical education for dental professionals. It does not replace the implant manufacturer's instructions for use, formal training or individual clinical judgement.



 International Team for Implantology
 ISO 9001:2015 Certified
 OHSAS Certified
 Academy of Osseo-Integration
 Indian Prosthodontics Society
 Indian Endodontic Society
 Women Implantology Network
 Indian Dental Association






 Sensitivity after a new crown: what is usual and when to call the dentist
 Dental implant after tooth extraction: immediate or delayed placement?
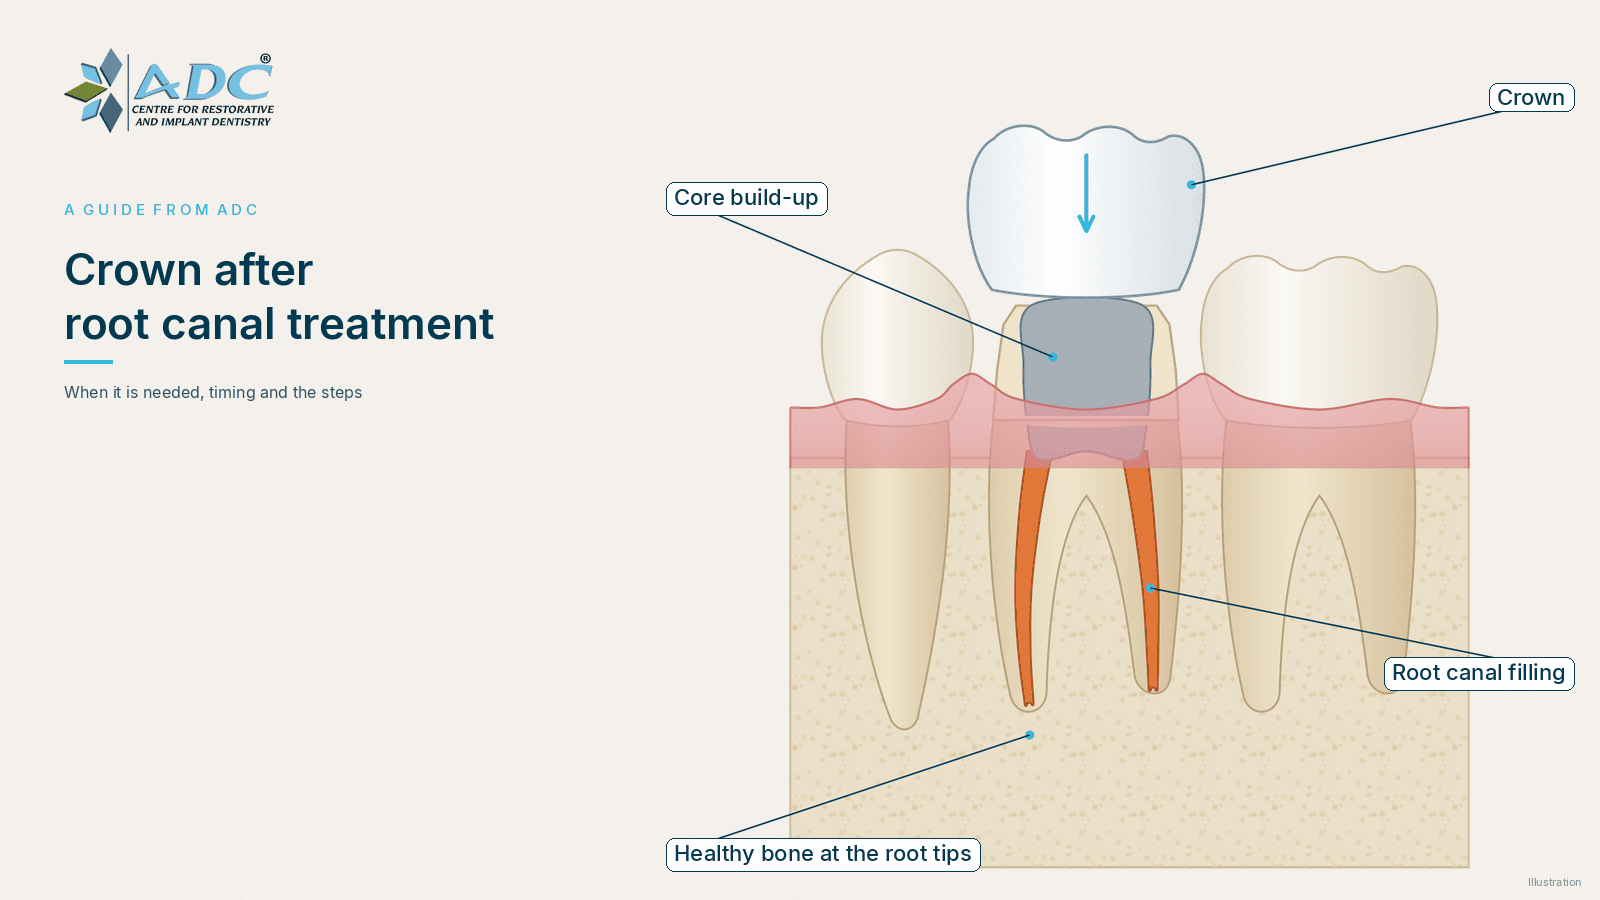 Do you need a crown after root canal treatment?